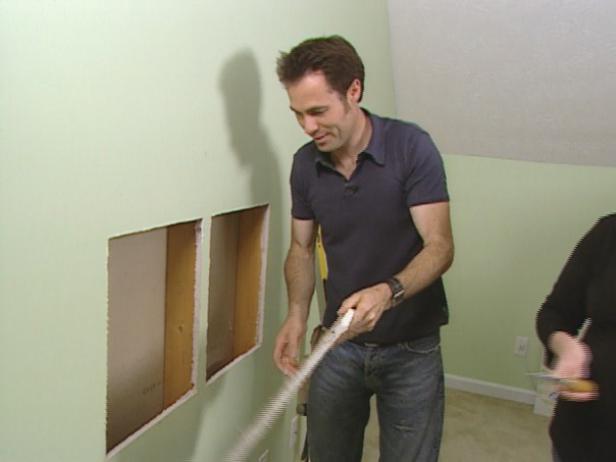
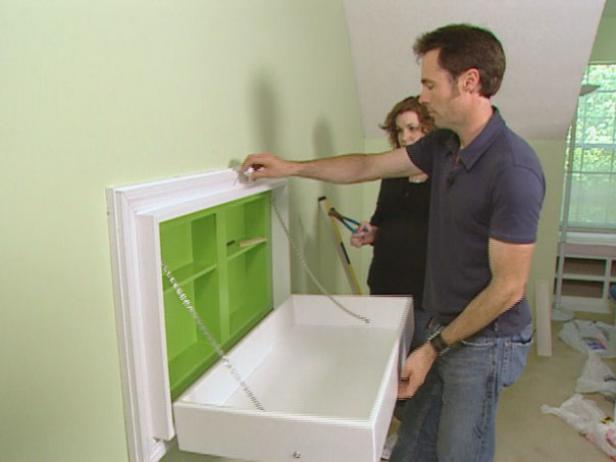
Measure the holes between each stud. The maximum depth for on-wall storage is about 3", so begin by using a table saw to rip down 1/4" plywood to 3" for the sides of the boxes.
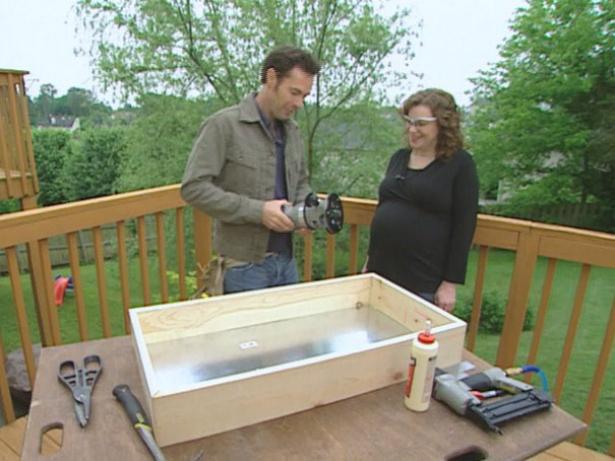
Cut the ripped plywood to length according to your measurements. Cut everything from 1/4" birch plywood with the exception of the shelves, which were 1/2" (Image 1).
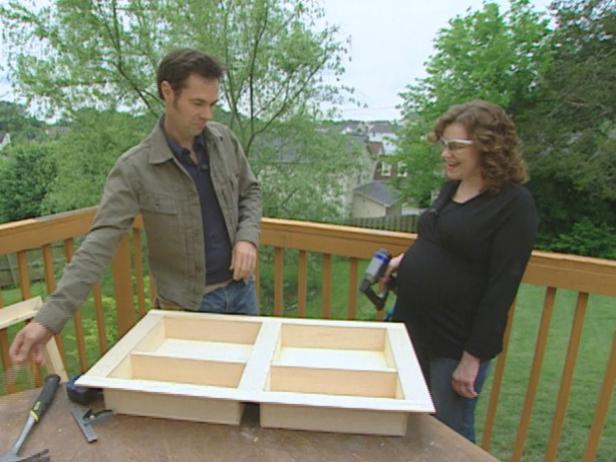
Using glue and a pneumatic staple gun, build two boxes with shelves.
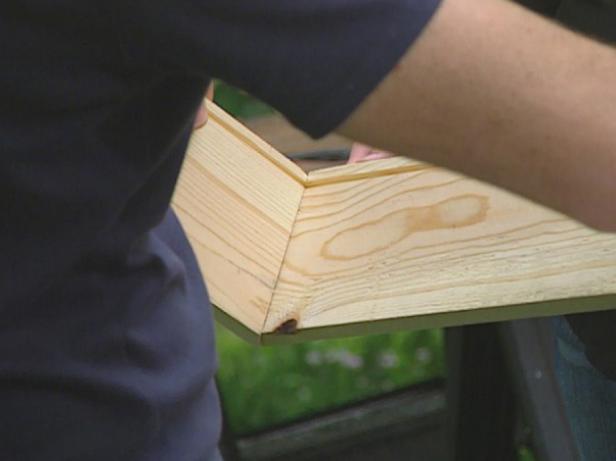
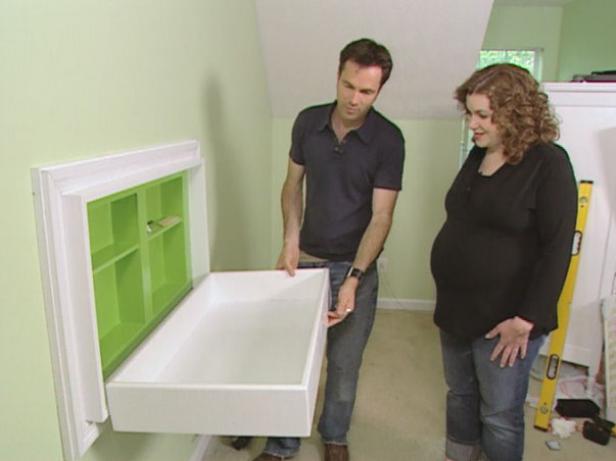
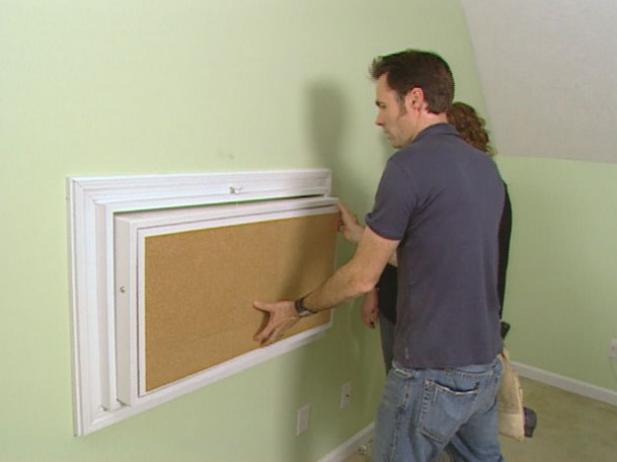
Connect the boxes with a center trim strip of plywood (Image 2). This will also bridge the stud in between the holes and be the primary attachment point.
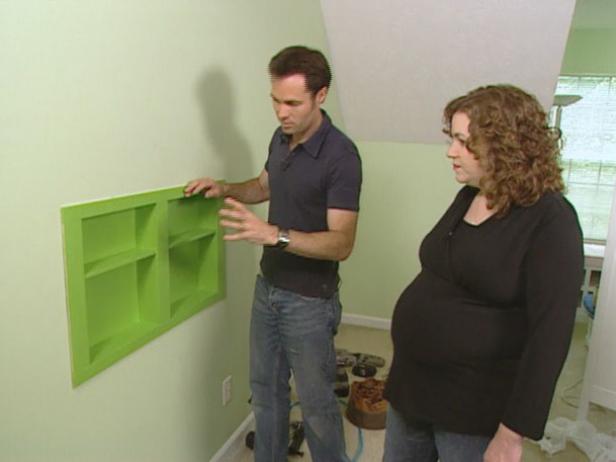
Fill the nail holes with wood putty. Sand and paint the wall insert.
The changing table box will have four sides and a plywood and metal bottom. The frame dimensions will match those used for cutouts in the wall. So, if the hole you cut in the wall is 14" tall, cut the frame to 14".
Cut 1"x6" pine to length on the chop saw. For finished corners, cut the ends at 45 degrees. You should have two long and two short pieces.
Using a table saw, set the blade height at a 1/4". Rip a 1/4" dado 1/2" from the bottom, along the length of the box pieces. (The guard on the table saw must be removed to make the cut. Be sure to replace the guard prior to using the saw again.) This dado is for the base of the box to slide into.
Glue and nail three sides of the box together, one long piece and two short. Make sure the dado grooves line up and that the corners join properly.
Cut a piece of sheet metal about 1/4" larger on all sides than the inside dimension of the box. Cut a piece of 1/8" plywood to match. Glue the metal and plywood together and slide the two into the dado with the metal facing up.
Place the last side of the box on and nail. Lay the box flat and use a router with a 1/4" roundover bit, to router the inside and outside edges of the box.
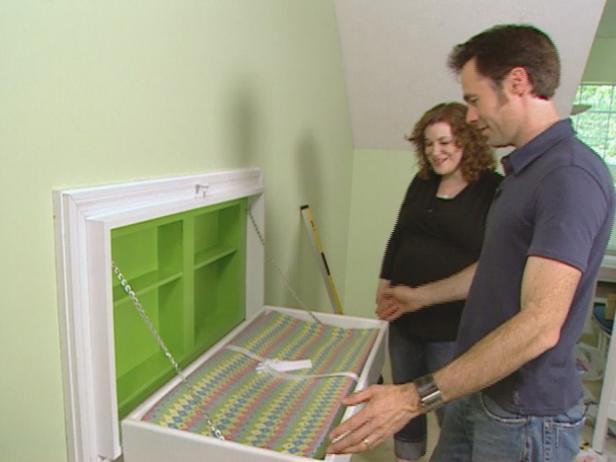
Use the assembled box to determine the dimensions for the frame. There needs to be 1/4" between the box and the frame on all sides so there won't be friction when the table is folded down.
Cut the 1"x4" and 1"x2" to length on the chop saw. Again, use 45 degree miter cuts for these.
Lay the 1"x4" down on the flat side and assemble it with glue and nails.
Turn the 1"x2" on the short edge so it stands up and assemble it with glue and nails.
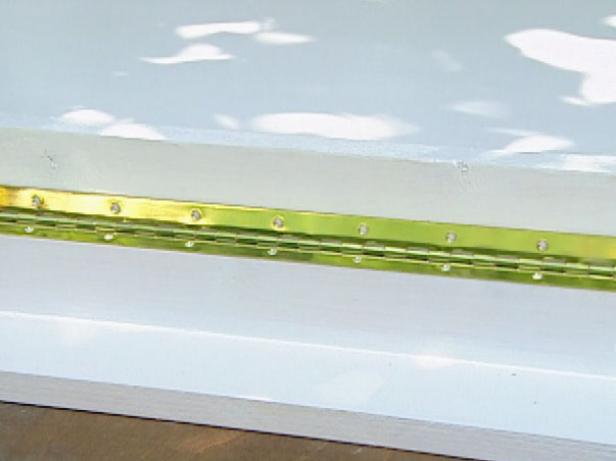
With the two frames assembled, now connect them. Lay the 1"x2" frame on the table and set the other frame on top, so that the inside edges align. Glue and nail the two together. Sand, prime and paint the frame and the box.
Dry Erase Panel
Measure the bottom of the folded up box. Cut masonite dry-erase panel to size using a circular saw.
Attach vinyl trim to the edge of the board with super glue.
Flip the panel over and use the super glue to stick magnets to the back.
Cork Board Panel
Cut masonite to size and use it as a template to trim the cork panels.
With a utility knife and straight edge, cut the cork.
Spray contact adhesive on the back of the cork and the masonite panel.
When the glue is tacky to the touch, set the panels in place.
Flip the panel over and use the super glue to stick magnets to the back.
Original article and pictures take http://www.diynetwork.com/how-to/how-to-build-a-fold-away-changing-table/index.html site
Комментариев нет:
Отправить комментарий